Animation of Assembly and Disassembly for Downhole Tool: A Comprehensive Step-by-step Guide

Written By: Computer Science Professor
Deeply rooted in the R&D of simulators for the oil and gas industry, committed to bringing safety to every oil worker.
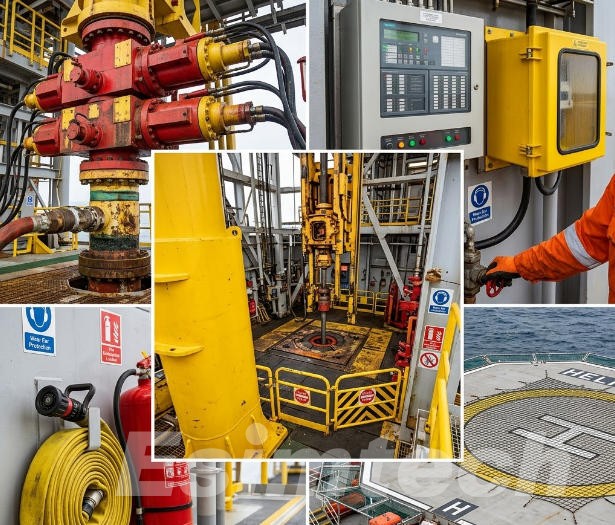
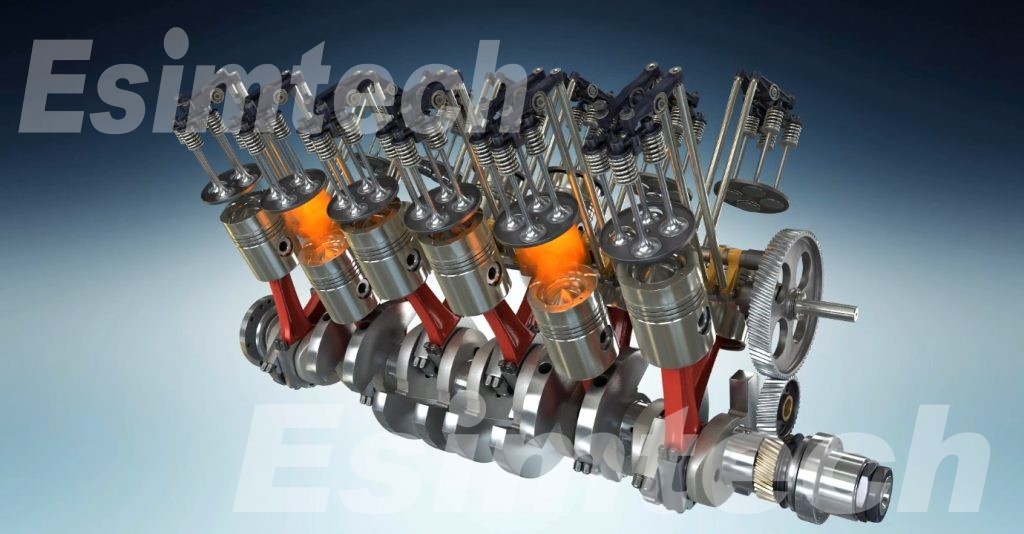
Downhole tools are essential in the oil and gas industry, assisting with a variety of duties in well drilling, completion, and production operations. Understanding how to assemble and disassemble this equipment is critical for wellbore maintenance, repair, and optimization. In this article, we provide a comprehensive step-by-step guide for animation of assembly and disassembly of downhole tools.
What is Downhole Tool Disassembly
Downhole tool disassembly is a rigorous operation that entails meticulously disassembling the components in order to access and analyze their internal processes. This step-by-step animation will walk you through the disassembly process from start to finish.
Step 1: Retrieval from the Wellbore
The animation begins with the downhole tool being extracted from the wellbore. To safely retrieve the tool to the surface, wireline or coiled tubing techniques are commonly used.
Step 2: External Component Removal
Centralizers, packers, valves, sensors, and other accessories are examples of these components. The animation shows how to separate these components using specific tools or equipment while maintaining cautious handling and arrangement.
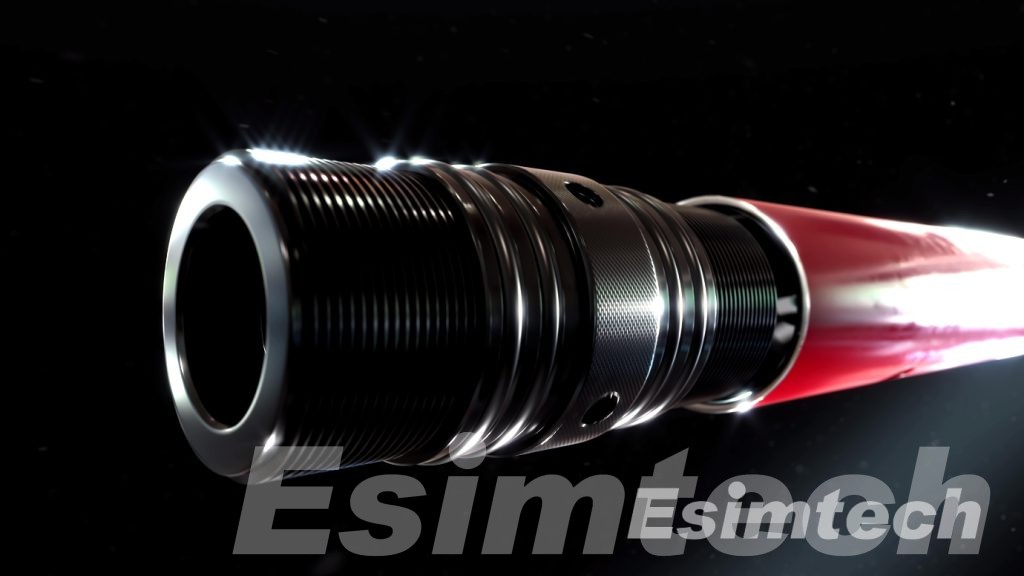
Step 3: Splitting the Tool Body
In some circumstances, opening the tool body is required to gain access to the internal components. The animation walks you through the steps, demonstrating how to safely open the tool body with the proper tools or equipment. It underlines the significance of precision and prudence in order to avoid destroying or compromising the components’ integrity.
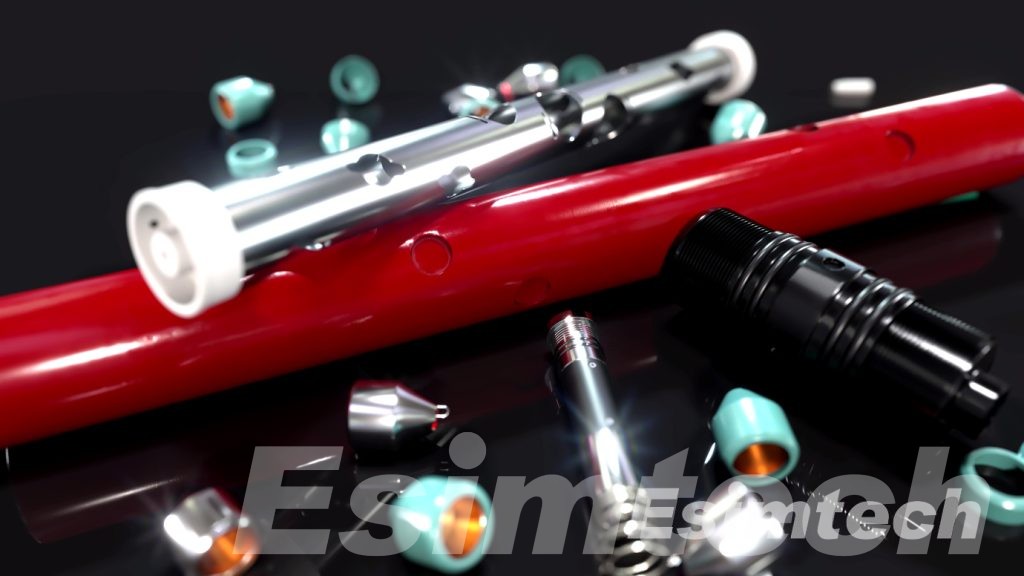
Step 4: Component Disassembly
The animation shows the dismantling of numerous internal components after the tool body is opened. Seals, bearings, springs, pistons, valves, electrical connections, and any other items that require inspection, repair, or replacement are removed at this step. Each component is carefully detached, labeled, and organized for further examination.
Step 5: Inspection and Cleaning
The animation stresses the importance of thorough inspection and cleaning after disassembling the components. It indicates a thorough assessment of each component for evidence of wear, corrosion, damage, or any other difficulties. It also emphasizes the use of proper cleaning chemicals or solvents to eliminate any accumulated pollutants or debris.
The animation includes visual clues, labels, and annotations throughout the disassembly process to assist you understand the exact procedures required and the right sequence of activities. It also highlights the significance of thorough documentation, which includes writing any results, measurements, or observations made during the disassembly.
Technicians and professionals may successfully carry out maintenance, assure optimal performance, and improve the overall reliability of downhole tools by following these steps attentively in the oil and gas industry.
What is Downhole Tool Assembly
Downhole tool assembly is a painstaking operation that entails precisely assembling the dismantled components to form a working and reliable tool. This step-by-step animation will walk you through the assembly process from start to finish:
Step 1: Component Preparation
The animation starts with the preparation of separate components for assembly. Lubricating certain parts, inserting seals or O-rings, altering settings, or assuring proper alignment and orientation are all examples of what this entails.
Step 2: Component Assembly
The animation walks you through each component’s perfect assembly. It demonstrates how to attach components such as seals, bearings, springs, pistons, valves, electrical connections, or any other disassembled pieces in the proper sequence and manner. To achieve proper alignment and secure attachment, specialized tools or equipment may be employed.
Step 3: Tool Body Closure
If the tool body was split open during disassembly, the animation concentrates on the tool body’s cautious closing. Aligning the body halves, ensuring good sealing, and securely attaching them together using appropriate means or fasteners are all part of this stage.
Step 4: External Component Installation
The animation focuses on the replacement of exterior components that were removed during disassembly. Attaching centralizers, packers, valves, sensors, or other attachments is one example. It emphasizes the significance of appropriate alignment, connection, and secure fastening in order for the components to perform properly.
Step 5: Testing and Quality Control
The animation concludes by emphasizing the importance of testing and quality control. It demonstrates the procedure of ensuring the appropriate operation of the built downhole tool.. This may involve conducting pressure tests, functional checks, or other quality assurance procedures to ensure the tool operates optimally and meets the required specifications.
The animation includes visual cues, labels, and annotations throughout the assembly process to guide you through the precise tasks involved and the exact order of assembly. It also highlights the significance of cautious handling, precision, and compliance with safety regulations.
Summary
Understanding downhole tool assembly and disassembly is critical for the oil and gas industry. This step-by-step animation provides a thorough visual overview to the complex processes involved. Technicians and experts can successfully maintain, repair, or optimize downhole tools by following these processes attentively, thereby improving wellbore performance and operational efficiency.